About Contact Store Carousel
What this section does
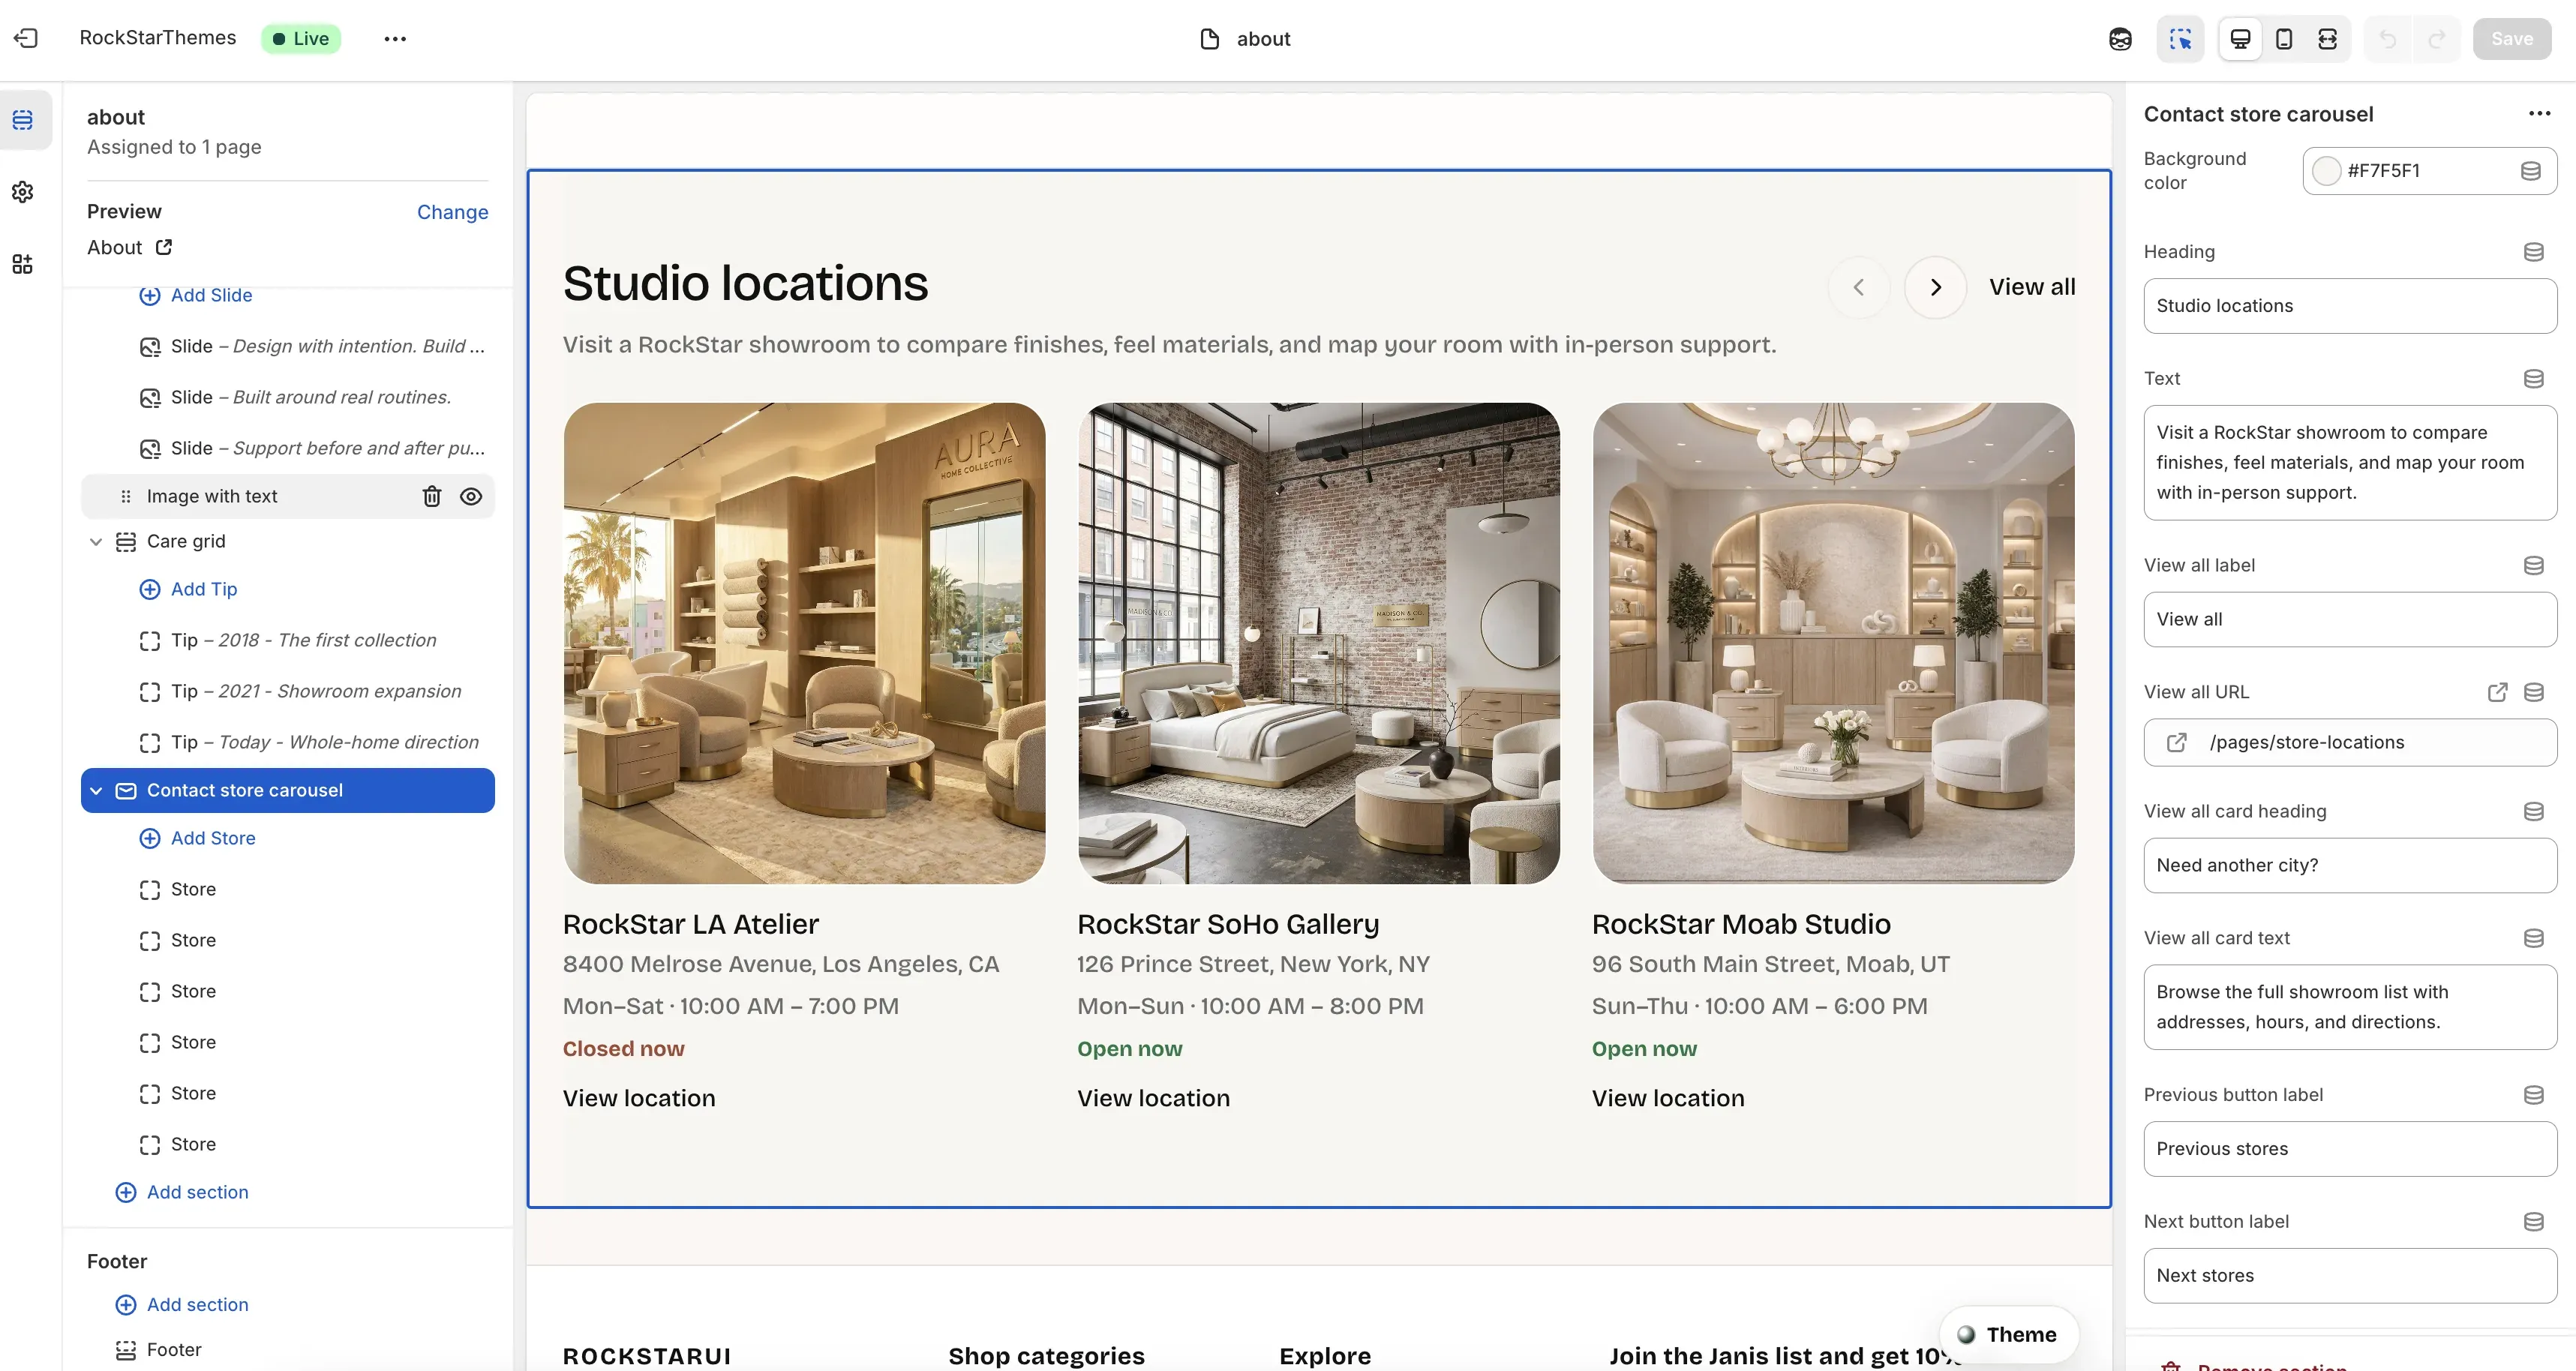
Section titled “What this section does”The Contact store carousel section on the About template showcases showroom/studio cards in a horizontal carousel. It supports heading text, carousel arrows, a “View all” link, and per-store cards with live open/closed status.
Where it appears
Section titled “Where it appears”- Template: About (
templates/page.about.json). - Section instance in template:
studio_locations. - Section type:
contact-store-carousel. - Block type:
Store.
How to set it up
Section titled “How to set it up”- Go to Online Store -> Themes.
- Click Customize.
- Open the About template/page.
- Select Contact store carousel in the left sidebar.
- Add/edit/reorder Store blocks.
- Save.
Section controls (important)
Section titled “Section controls (important)”When the section is selected:
- Background color: section background.
- Heading: section title (example:
Studio locations). - Text: supporting intro text.
- View all label: CTA text next to the arrows.
- View all URL: destination for the View all CTA.
- Previous button label: aria label for left arrow.
- Next button label: aria label for right arrow.
- View all card heading and View all card text: metadata fields for view-all card content patterns in section data.
Store block controls (important)
Section titled “Store block controls (important)”When a Store block is selected:
- Store name: card heading.
- Address: location line used for display and timezone detection.
- Hours: opening schedule text used for status calculations.
- Store URL: destination for the card link.
- Link label: card CTA text (example:
View location). - Store image: uploaded card image.
- Fallback asset filename: theme asset fallback if image is not uploaded.
Behavior details
Section titled “Behavior details”- Carousel shows 3 cards desktop, 2 tablet, 1 mobile.
- Arrow clicks move by a full “page” of visible cards.
- Arrows disable automatically at start/end scroll bounds.
- If a store has valid
Hours, status showsOpen noworClosed now. - Status updates every minute on the storefront.
- Timezone is inferred from state code in
Address(CA,NY,UTsupported by default). - If
Store imageis empty, it usesFallback asset filename; if both are empty, a placeholder appears.
Common merchant tasks
Section titled “Common merchant tasks”Add a new showroom card
Section titled “Add a new showroom card”- Click Add Store.
- Fill name, address, hours, URL, and link label.
- Upload image (or provide fallback asset filename).
- Save.
Reorder cards
Section titled “Reorder cards”- Drag store blocks in the left sidebar.
- Confirm order in preview.
- Save.
Fix incorrect open/closed status
Section titled “Fix incorrect open/closed status”- Open the store block.
- Review
Addressstate code andHoursformat. - Save and recheck storefront.
- Keep hours format consistent (example:
Mon–Sat · 10:00 AM – 7:00 PM). - Use matching image style and aspect for all stores.
- Ensure every store has a valid URL and CTA label.
- Keep address state abbreviations correct for timezone accuracy.
Why is a card showing placeholder media?
Section titled “Why is a card showing placeholder media?”No Store image and no valid Fallback asset filename were provided.
Why does open/closed status not appear?
Section titled “Why does open/closed status not appear?”Hours could not be parsed, or required day/time parts are missing.
Why is status time wrong?
Section titled “Why is status time wrong?”The section infers timezone from the state code in Address; verify state abbreviation.